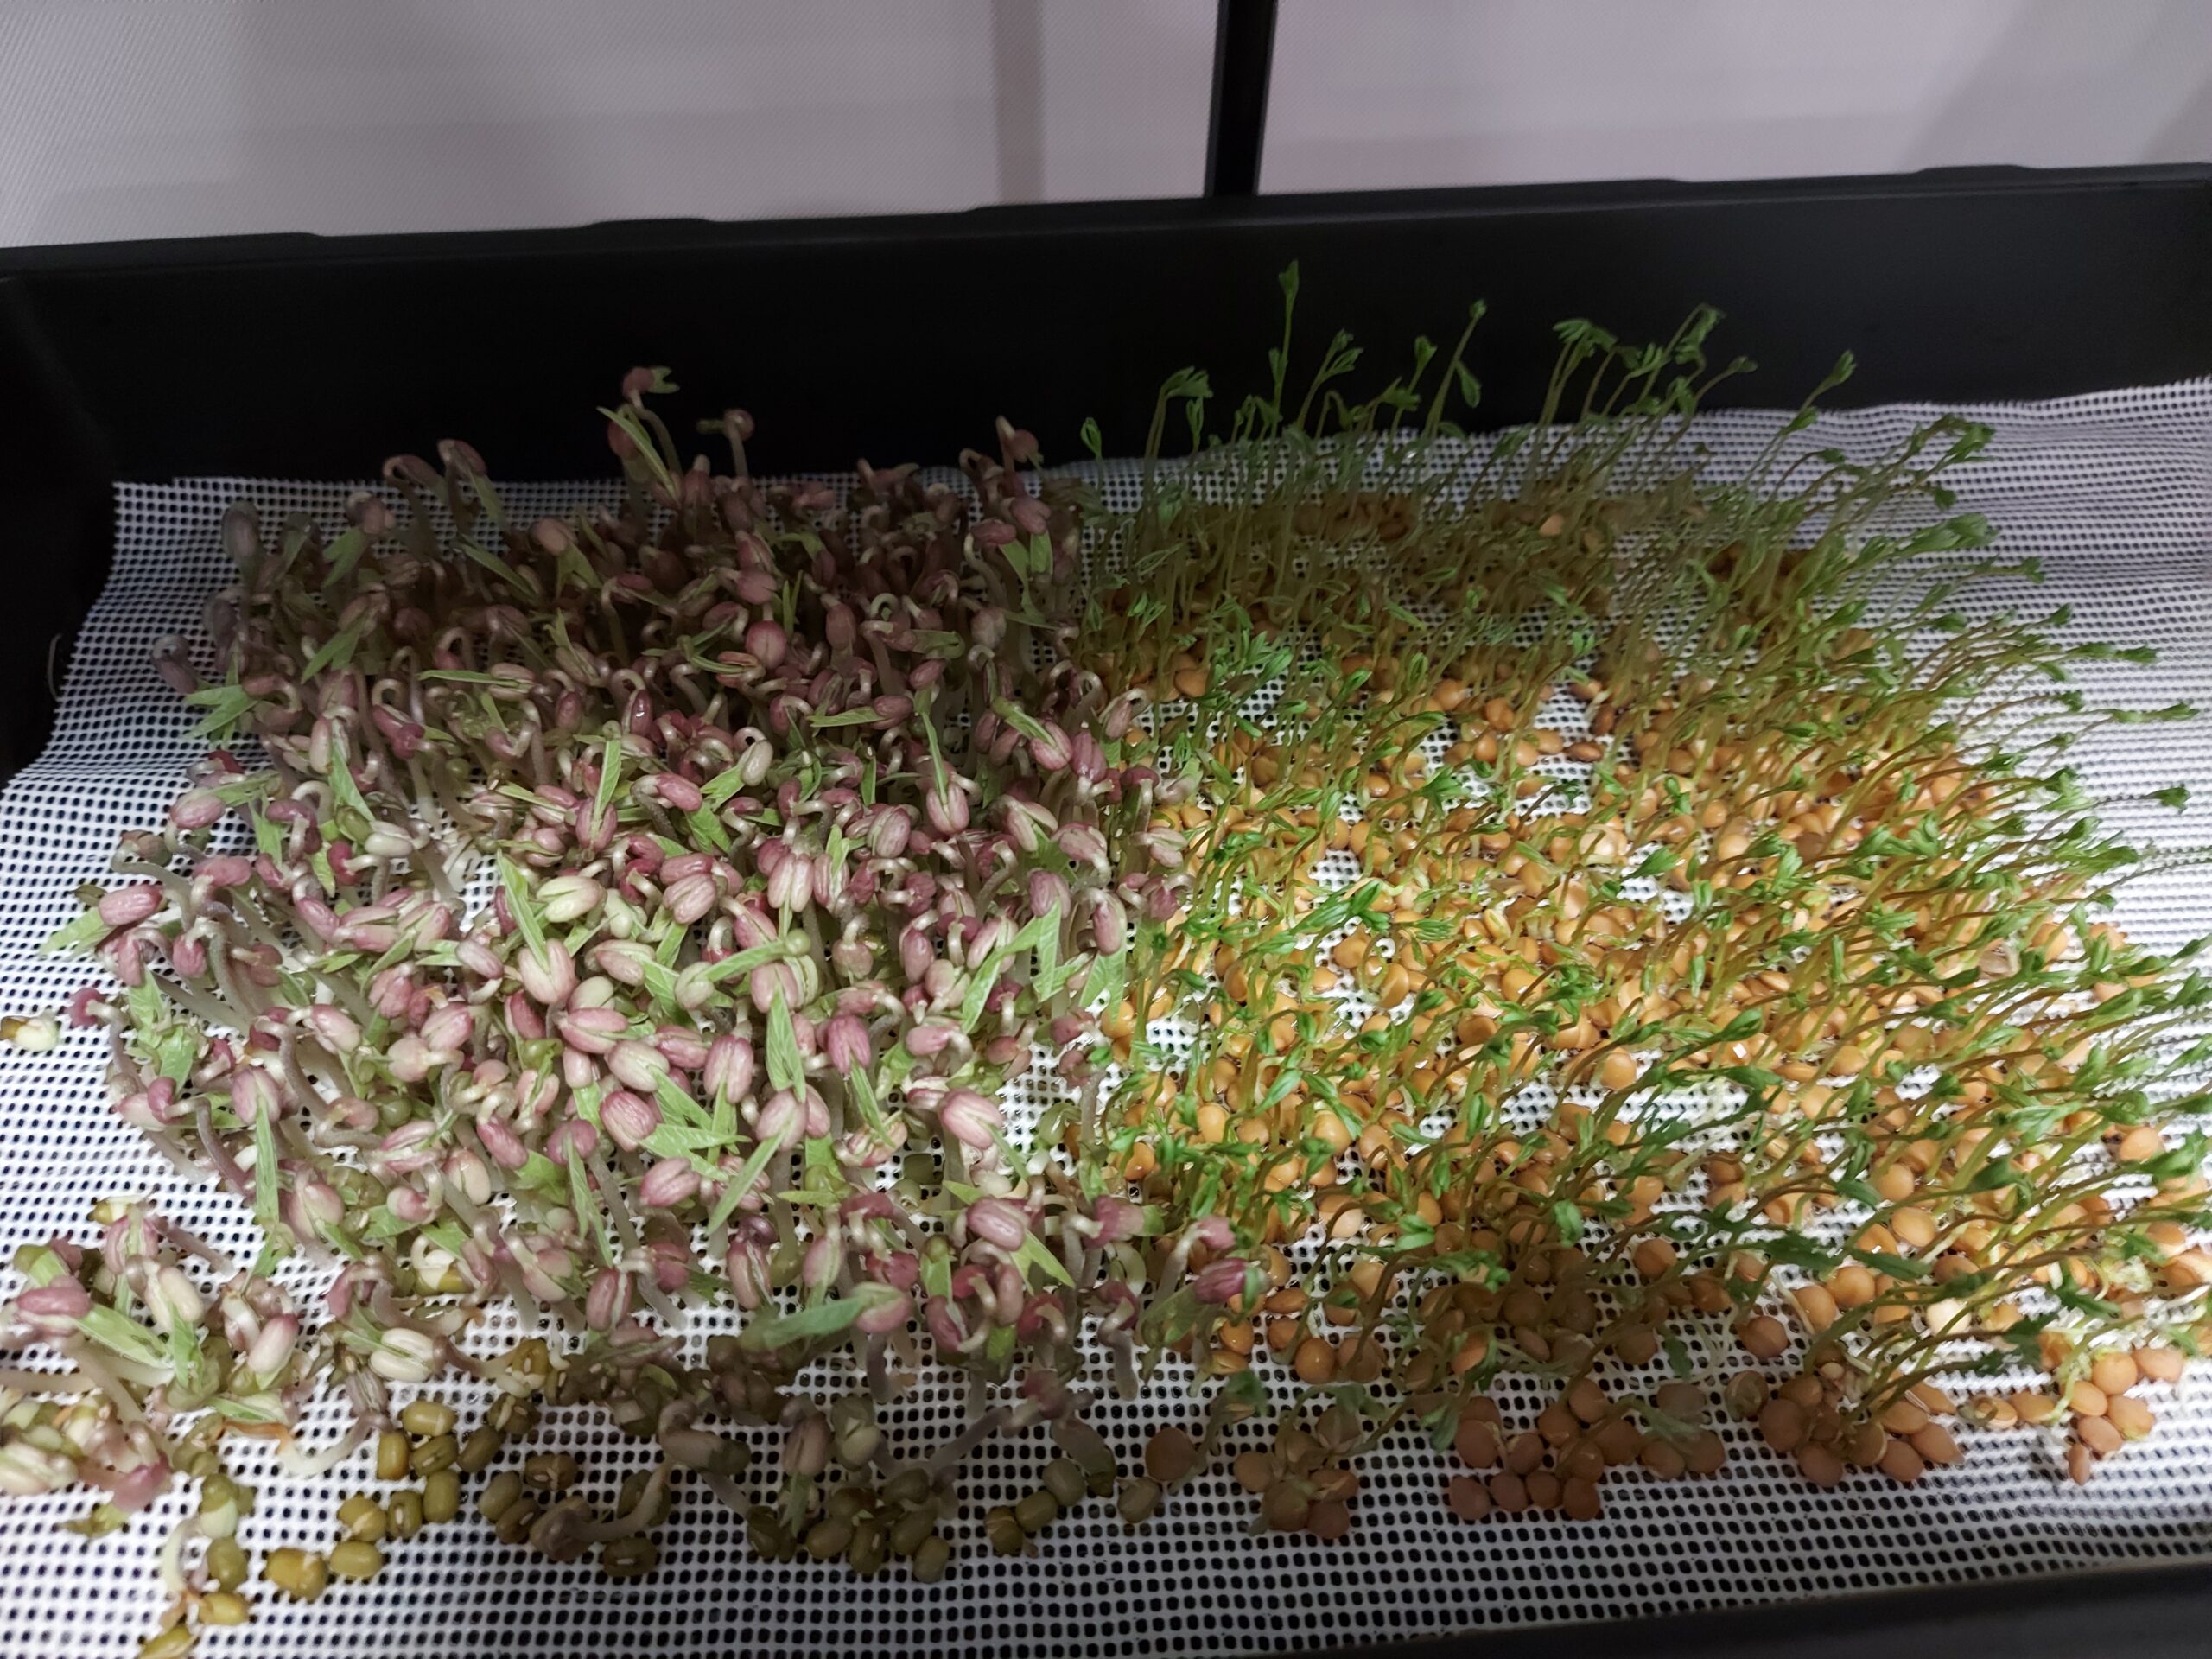
By day 3 or 4 our microgreens should be well into it’s sprouting phase. From here things should be smooth sailing from here. Most microgreens can be harvested by day 7, so from here we just need to maintain ideal growing conditions and wait eagerly for our babies to continue growing.
Blackout Period
Covering microgreens for a day is an optional step that can have its benefits, depending on your growing setup and preferences. This technique, often referred to as “doming,” involves placing a lid or cover over your microgreen trays for a short period, typically during day 3, after the initial germination phase or the initial stages of growth. The cover helps to create a dark, moist environment that can trick our sprouts into thinking they are underground, and thus need to grow vertically in order to reach light.
However, this step is not strictly necessary, especially if you’re already providing the ideal conditions for your microgreens. Whether you choose to use this method or skip it entirely, the key is to monitor your microgreens closely and adjust as needed to ensure they thrive. Experimentation can help you decide if doming works well for your growing style!
Watering Microgreens After Sprouting
Watering microgreens from the bottom is widely considered the best method, and for good reason. This technique involves adding water to a tray beneath the container holding your microgreens, allowing the roots to absorb moisture directly. By doing so, you not only ensure the plants get just the right amount of water but also avoid oversaturating the delicate stems and leaves, which can lead to mold or disease. Bottom watering promotes healthier growth by encouraging stronger root development, as the roots naturally reach down to access the water source. It also keeps the surface soil relatively dry, discouraging fungus gnats and other pests that thrive in damp conditions. For urban gardeners and anyone short on time, this approach is both efficient and effective, making it the go-to choice for nurturing vibrant, thriving microgreens.
- Dump out excess water from before, if any
- Lift up a corner of our growth medium by an inch or two
- Gently pour in 1 or 2 cups of water into the base of our tray
- Slowly lower the growth medium back down to avoid splashing
We want our trays to be moist but not soaking wet – we do not want to drown our microgreens. Watering once a day should suffice for most plants but it can vary depending on the size and quantity of sprouts.
Dumping out the excess water left in the bottom tray is an essential step when bottom-watering microgreens and is often overlooked by new growers. Leaving stagnant water in the tray can deprive the roots of the oxygen they need, hindering healthy growth and potentially leading to issues like root rot. By removing this excess water, you create a healthier environment where the roots can breathe and recover between waterings, promoting vibrant, resilient microgreens. For beginners, forgetting this step is a common mistake, but it’s an easy habit to develop—and one that makes a significant difference. Ensuring a balance of hydration and aeration is key to fostering a thriving microgreen garden, and a quick drain of the tray post-watering can set you up for success.

