Welcome to our detailed guide on growing microgreens from start to finish. This guide will dive deep into the world of experiments and mistakes, detailing not just the right steps to take, but also the missteps to avoid. We believe that true growth and progress often come from our failures, just as much as our successes. By exploring both the dos and the don’ts, you’ll gain a well-rounded understanding of how to navigate the challenges and opportunities that arise on your journey.
Day 0 – Finding a Container
One of the first steps is selecting the right containers for your microgreen garden. Look for shallow trays or flats, typically 2-4 inches deep, with good drainage holes. Repurposed containers like plastic takeout containers or small wooden boxes work well. Be sure to choose food-safe materials that won’t leach chemicals. With the right containers, you’ll be on your way to a thriving microgreen harvest in no time.
If you choose to to reuse a takeout container you will need a way to make a number of holes inside the container. We tested using a 3/8 inch drill bit to drill holes approximately every inch throughout a take-out sushi tray. There will be many microplastic bits left behind by the drill so if you go take this route, make sure you drill above a safe and contained area to make for an easier clean up. This process can be quite time consuming, however, and could pose as a safety risk if you are not careful.
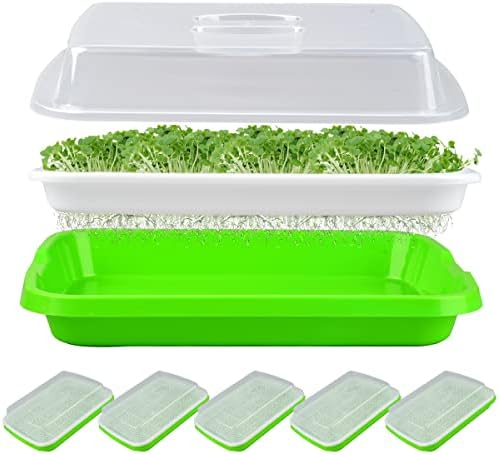
Alternatively, there are many microgreen trays such as the ones shown above that can be purchased online. They vary in price from 3-10 dollars, depending on how many sets you need, or whether you need a lid. We do strongly advise buying ones with opaque lids, as they will be very helpful later on. If you decide to start with only one set, you can switch the lid and base around when we start growing. If you buy more than one set, the base tray from another set can be used temporarily as a lid. Our microgreens will only need to be covered for a few days, but we will cover that in more detail later.
Day 0 – Finding Seeds
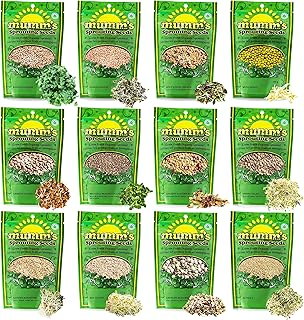
Microgreen seeds are readily available at local garden centers. The level of investment you wish to make in growing them can vary but there is nothing wrong with starting small. Sprouts or Broccoli are a great place to start, whilst wheat grass is another you can try if you are into healthy green smoothies. We ultimately went with a variety starter pack of seeds from a company called Mumm’s, as they offered a wide variety.
Day 0 – What Else Do We Need?
You should already have paper towels at home, but grab some if you don’t. A spray bottle will also be helpful for misting our seeds. If you don’t already have one, try to grab a misting spray bottle, as the more common spray bottles shoot out in a line – which we want to avoid.
Once you’ve gathered all the necessary supplies, our microgreen adventure will officially begin! Stay tuned for next week’s post where we’ll dive into soaking and planting the seeds.