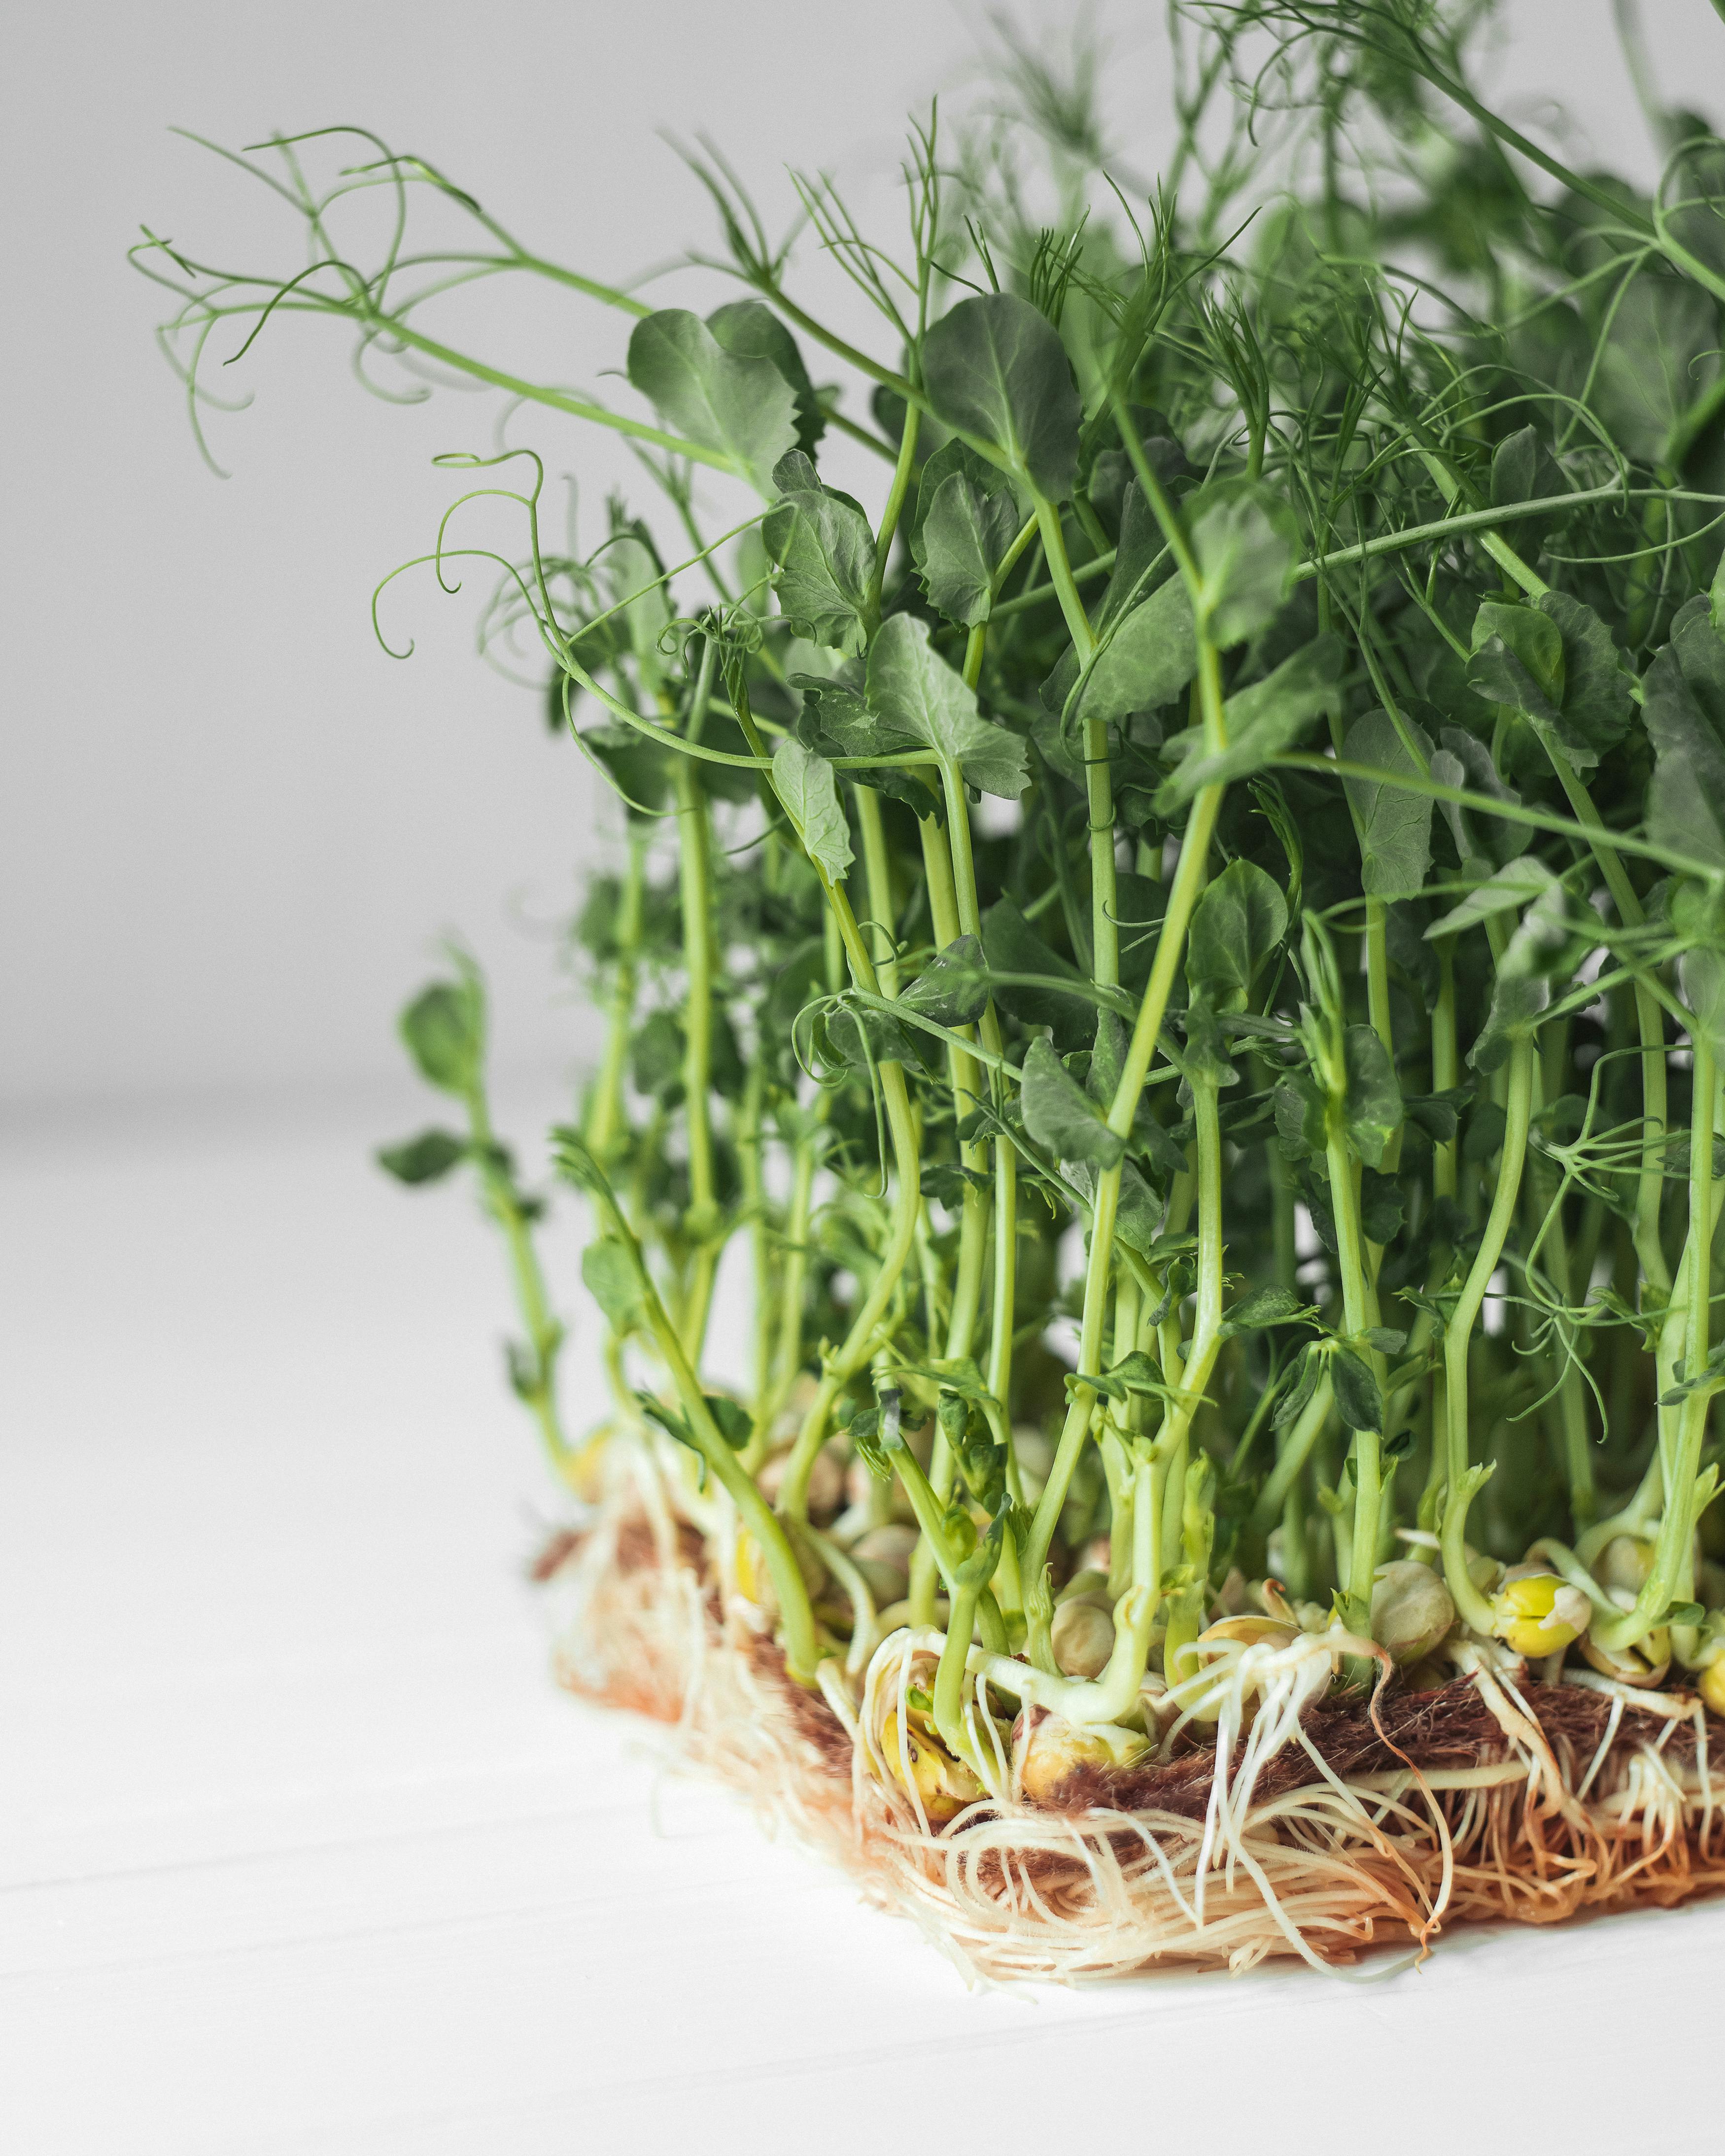
Microgreens have surged in popularity, not just for their vibrant flavors but also for their dense nutritional content. They’re easy to grow, even if you’re new to gardening. This guide will walk you through the initial steps needed to start growing your own microgreens at home, focusing on the best microgreens for beginners.
Why Grow Microgreens?
Microgreens are young vegetable greens, typically harvested when they are just 1-3 inches tall. They pack a punch in terms of flavor and nutrients, making them a favorite among health enthusiasts. Plus, they’re quick to grow and require minimal space, making them ideal for urban gardeners or anyone looking to add a green thumb to their skill set.
Best seeds to Grow Microgreens for Beginners
When starting out, it’s best to choose microgreens that are easy to grow and have a high germination rate. Here are some top picks:
- Radish: Radish microgreens are among the fastest to grow, typically ready for harvest in just 5-7 days. They have a spicy flavor that adds a kick to salads and sandwiches.
- Sunflower: These microgreens have a nutty flavor and are slightly crunchy. They take a bit longer to grow, usually around 7-10 days, but they’re worth the wait.
- Broccoli: Known for their mild taste and high nutrient content, broccoli microgreens are another great option for beginners. They’re usually ready in 8-10 days.
- Peas: Pea shoots are slightly sweet and can be harvested in about 10-14 days. They add a delightful texture to various dishes.
- Basil: Although basil microgreens take a bit longer to grow (10-14 days), they’re perfect for adding a fresh, aromatic touch to your meals.
How to Grow Microgreens at Home
Now that you’ve selected your seeds, it’s time to get started with the growing process. Follow these steps to ensure a successful harvest.
1. Gather Your Supplies. We recommend this site here (non affiliated)
You don’t need much to grow microgreens at home. Here’s what you’ll need:
- Seeds: Choose the best microgreens for beginners as listed above.
- Growing trays: Shallow trays with drainage holes are ideal.
- Growing medium: Coconut coir, potting soil, or even paper towels can work.
- Water: A spray bottle works best for watering microgreens.
- Light source: While sunlight is great, a simple grow light will do if you don’t have a sunny spot.
2. Prepare Your Growing Trays
Fill your tray with your chosen growing medium to a depth of about 1-2 inches. If using soil, make sure it’s moist but not waterlogged. Smooth out the surface to ensure even growth, this is essential to grow microgreens to their full potential.
3. Sow Your Seeds
Scatter the seeds evenly across the surface of the growing medium. There’s no need to cover the seeds with soil; microgreens grow best when exposed to light. After sowing, gently mist the seeds with water.
4. Provide the Right Conditions
Place your tray in a spot where it will receive plenty of light. If using a grow light, keep it on for 12-16 hours a day. Keep the seeds moist by misting them with water daily. Avoid overwatering, as this can lead to mold growth.
5. Harvesting Your Microgreens
Microgreens are typically ready to harvest in 7-14 days, depending on the variety. You’ll know they’re ready when they have developed their first set of true leaves. To harvest, use sharp scissors to cut the greens just above the soil line.
6. Enjoy and Experiment
Once harvested, microgreens can be stored in the refrigerator for up to a week, though they’re best enjoyed fresh. Use them in salads, sandwiches, smoothies, or as a garnish for various dishes. As you gain confidence, you can experiment with different seed varieties and growing techniques.
My favorite microgreens are: Sprouts, Broccoli, and Radish. But make sure you’re experimenting and trying out the ones that make you happy! Now you know how easy it is to grow microgreens on your own!
To grow microgreens or not to grow?
To grow microgreens at home is a rewarding experience that doesn’t require a lot of time, space, or expertise. By following this guide, you’ll be well on your way to enjoying fresh, nutritious greens right from your kitchen. Whether you’re looking to add more vegetables to your diet or simply enjoy the process of growing your own food, microgreens are an excellent choice for beginners. Try pairing this method with hydroponic gardening! Check out our guide here.

